")
Managing digital products doesn’t have to be a juggling act.
If you’ve ever felt overwhelmed keeping track of files, sales, and customers, you’re not alone. The good news? Sellzzy makes it refreshingly simple.
Whether you’re selling eBooks, design templates, music, courses, or any other digital creation, this step-by-step guide will walk you through exactly how to manage them with ease—so you can spend more time creating and less time stressing.
Step 1: Create Your Sellzzy Account
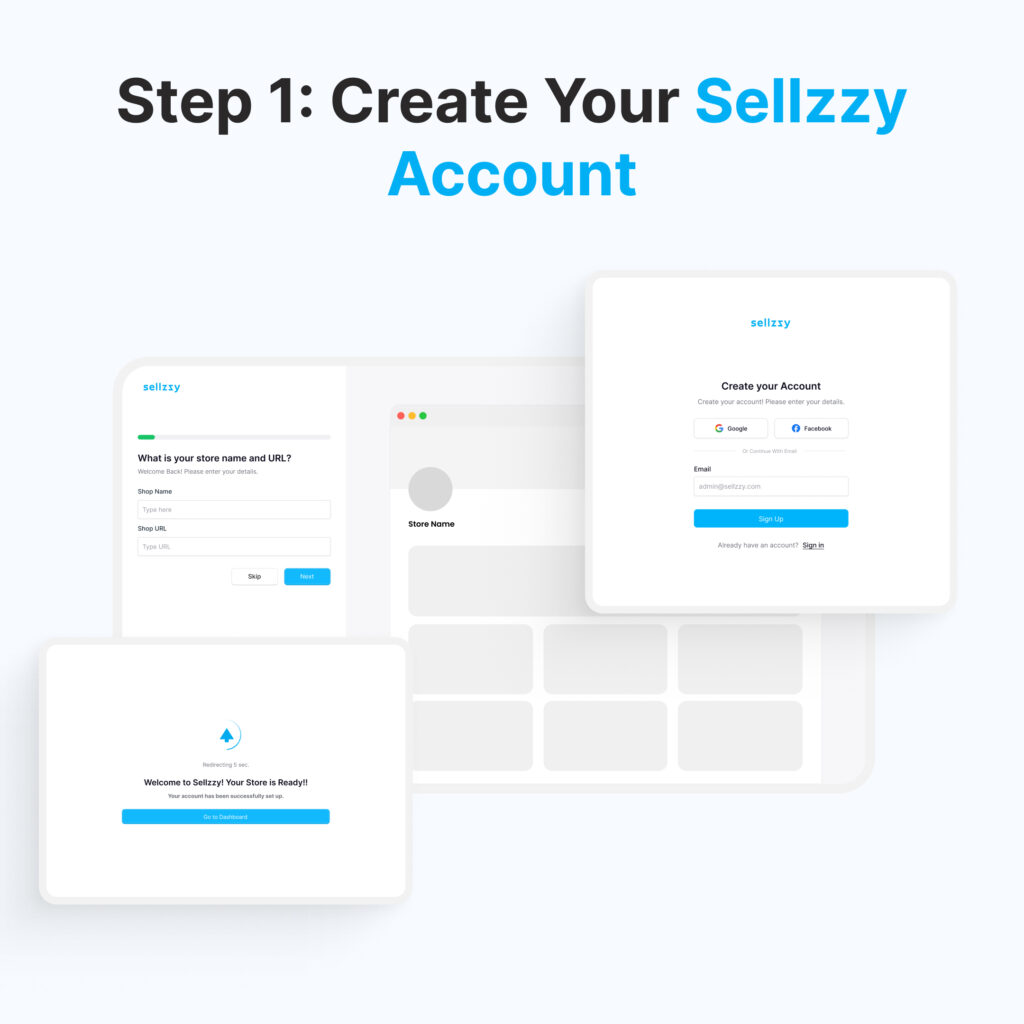
Getting started takes just a few minutes.
- Sign up on Sellzzy with your email.
- Set up your store profile—add your logo, business name, and a short bio.
- Connect your payment methods (PayPal, Stripe, or SSLCommerz) so you can get paid instantly.
Think of this step as setting up your digital “shop front” so customers know exactly who they’re buying from.
Step 2: Upload Your Digital Product
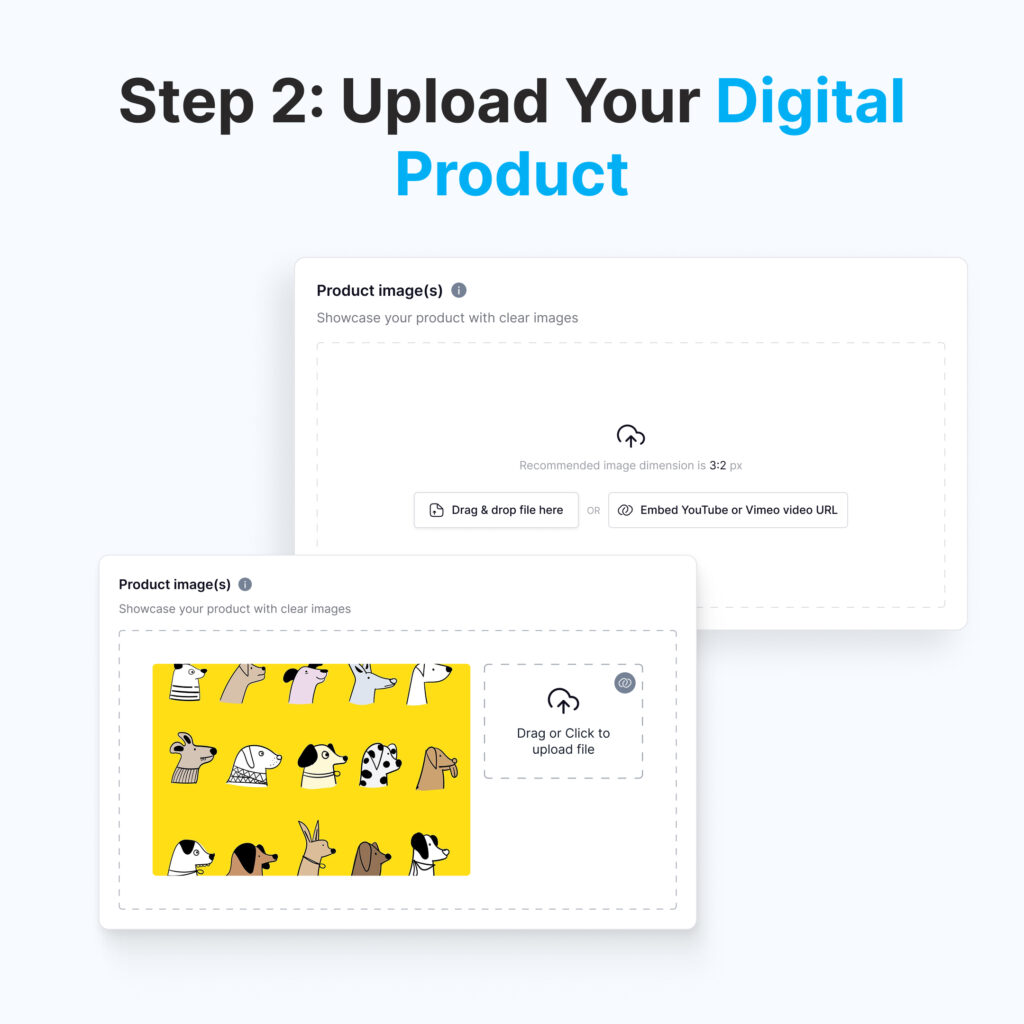
Now the fun part—adding your creation!
- Sellzzy supports popular formats like ZIP, PDF, PNG, MP4,3D Model and more.
- Upload directly to your store in just a few clicks.
- Keep your files organized so uploads are quick and easy.
Pro tip: Give your files clear names before uploading—it helps with managing multiple products later.
Step 3: Add Product Details
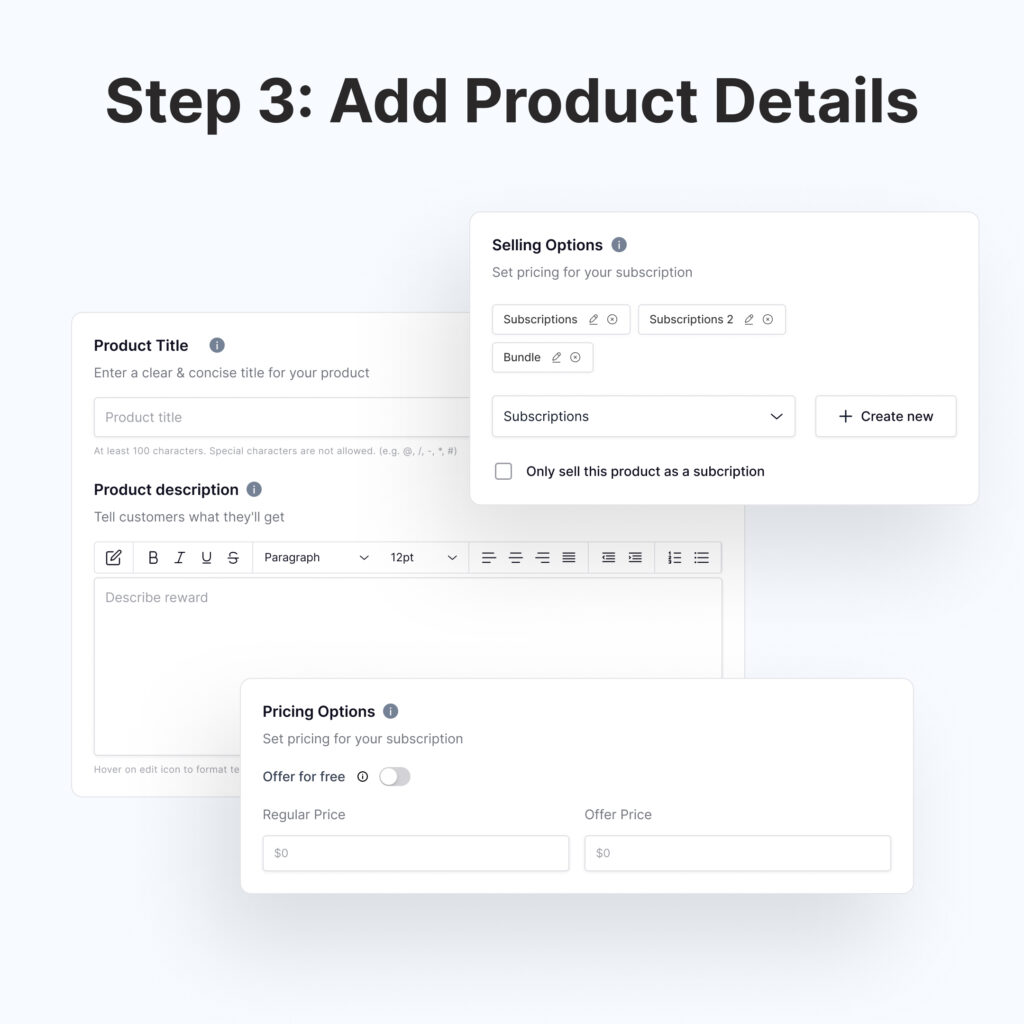
This is where your product listing comes to life.
- Title – Keep it short, catchy, and clear.
- Description – Highlight the benefits and what’s inside.
- Pricing – Choose between a one-time purchase, subscription, or membership.
- Tags & Categories – Help customers find exactly what they’re looking for.
Remember: Your product page is your salesperson. Make it convincing.
Step 4: Customize Your Storefront
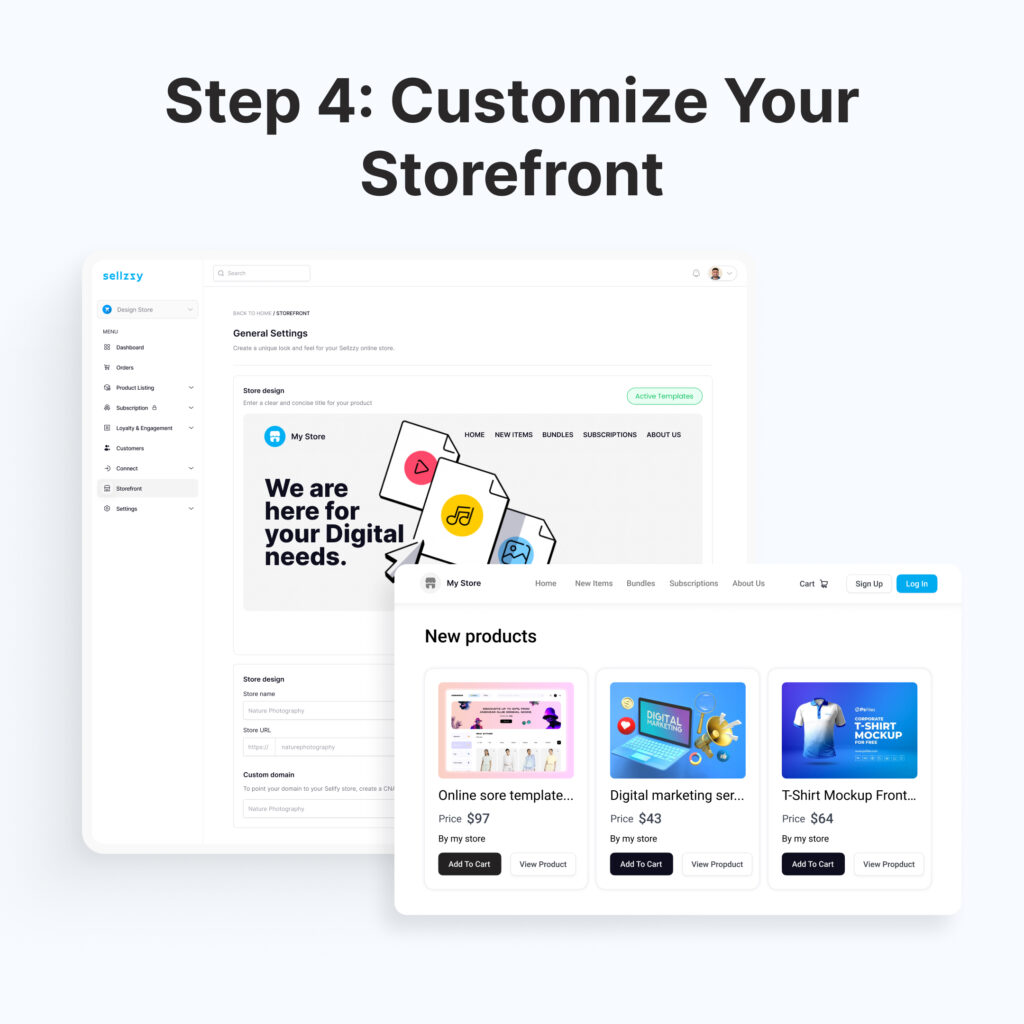
Your storefront is your brand’s stage—make it memorable!
- Add a banner that reflects your style.
- Use brand colors so it feels consistent with your other platforms.
- Organize your products neatly for easy browsing.
When your store looks good, customers feel confident hitting “buy.”
Step 5: Set Up Instant Delivery & Access
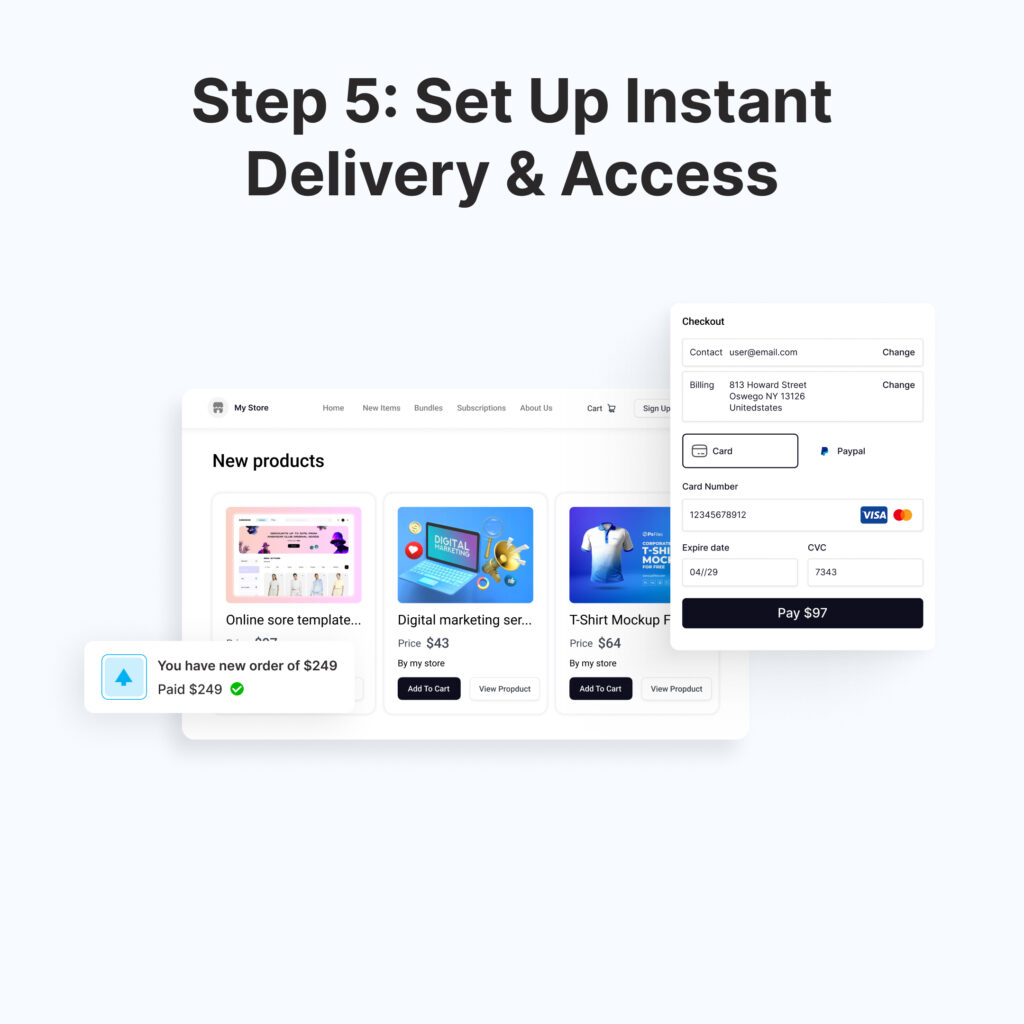
One of Sellzzy’s superpowers is instant delivery.
As soon as someone makes a purchase, they get immediate access—no waiting, no manual emails.
You can even:
- Add license keys if needed.
- Include bonus files to surprise customers.
This feature not only saves you time but also makes customers happy (and more likely to return).
Step 6: Share & Market Your Products
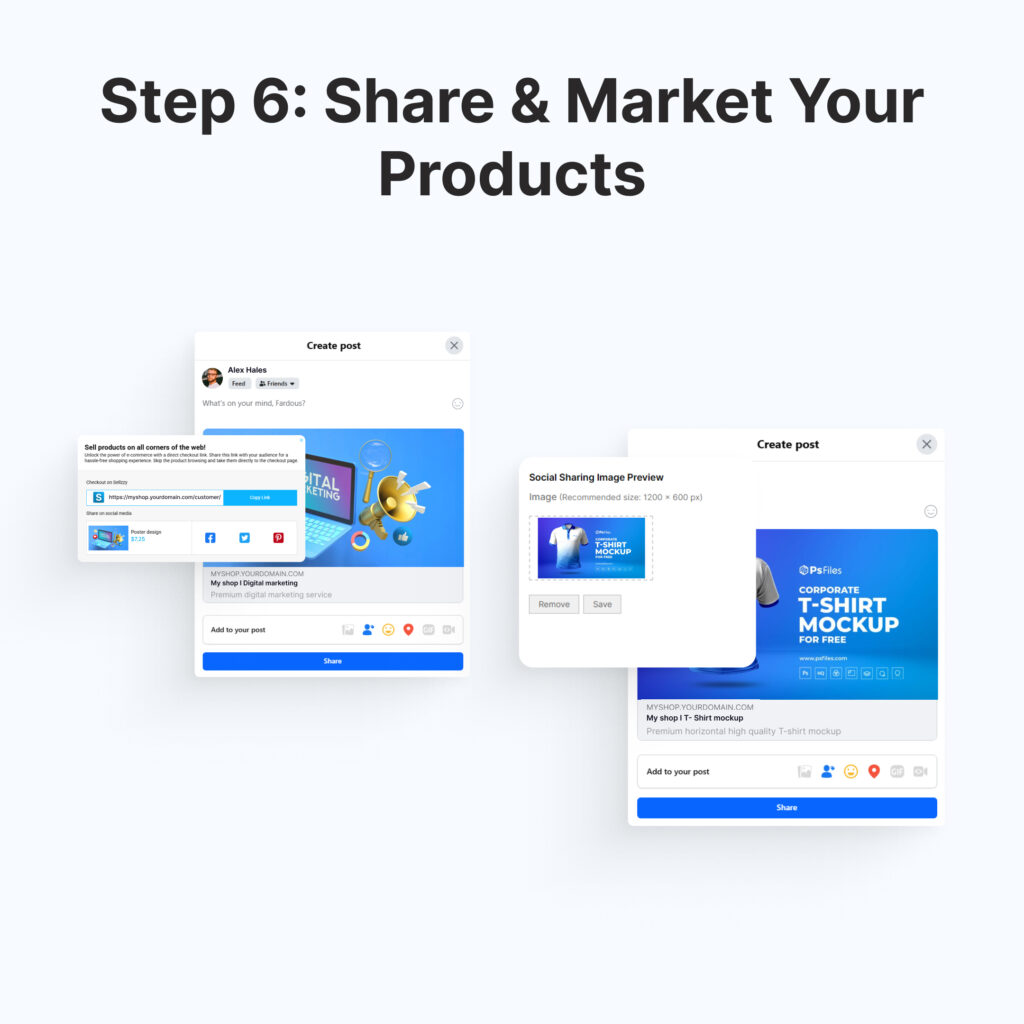
Now that your product is live—it’s time to spread the word!
- Use Sellzzy’s smart checkout links to send customers straight to purchase.
- Share on your social media platforms, newsletters, and communities.
- Partner with influencers or creators in your niche to get more eyes on your product.
Think of these links as your “buy now” shortcut—perfect for marketing campaigns.
Step 7: Track Sales & Manage Orders
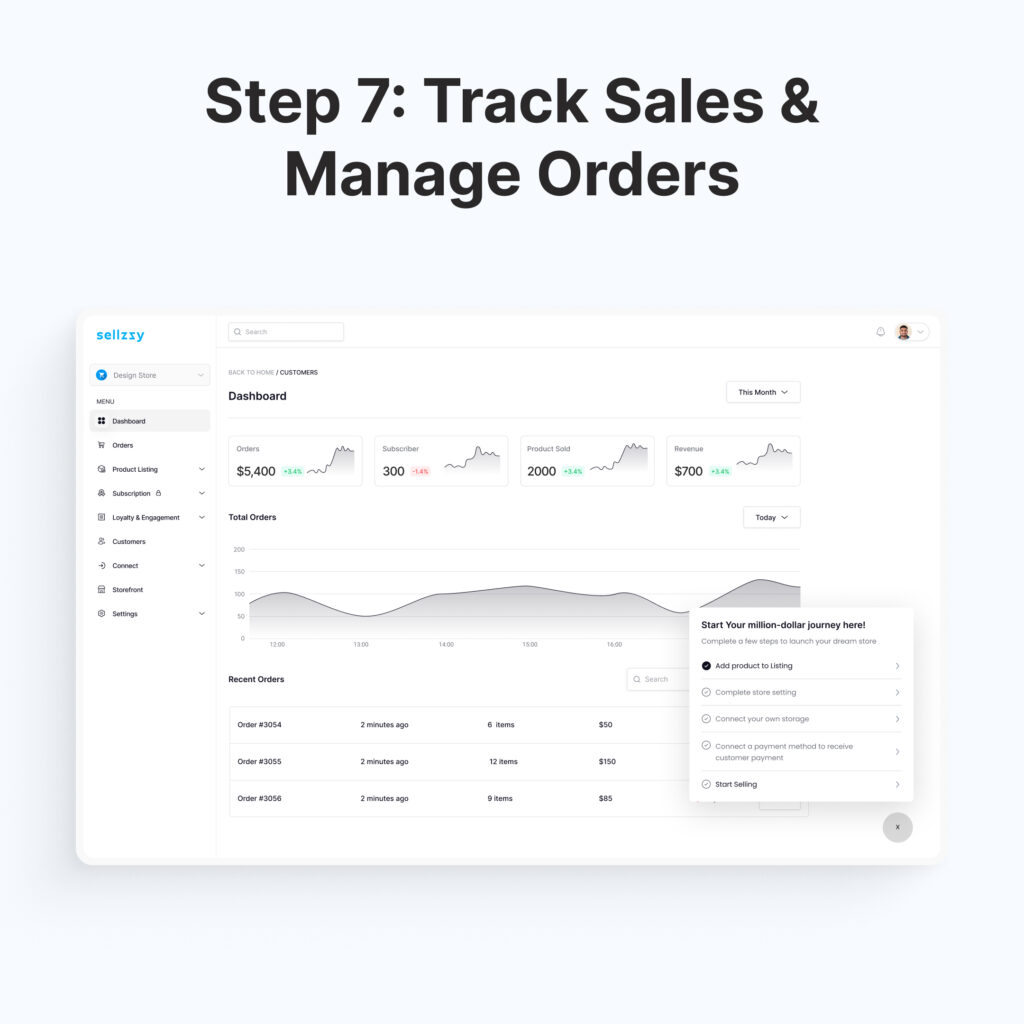
Your dashboard is your command center.
- See which products are selling best.
- Track revenue in real time.
- View and manage customer orders without the headache.
Use these insights to double down on what’s working and improve what’s not.
Step 8: Keep Your Store Updated
A fresh store keeps customers coming back.
- Add new products regularly.
- Update older listings with better descriptions or new previews.
- Run seasonal promotions to create urgency.
Consistency keeps your store active—and your sales steady.
Final Thoughts
Managing digital products on Sellzzy isn’t just easy—it’s empowering. From uploading your first file to tracking sales like a pro, every step is designed to save you time and help you sell more.
So, if you’re ready to turn your digital creations into a smooth-running online business, sign up today and launch your first product in minutes.
Your customers are waiting—let’s make it happen. 🚀